Getting Started with cmercury
To help you hit the ground running, we’ve prepared a simple guide to walk you through:
✅ Signing Up for cmercury
✅ Setting Up Your Account
✅ Importing Subscribers
✅ Creating a Campaign
✅ Tracking Campaign Performance
Your success is our priority, and our team is here to support you every step of the way. If you have any questions, feel free to explore our help center or reach out to our support team. Let’s create impactful email campaigns together! 🚀💡
Signing Up for cmercury
Follow these steps to create your cmercury account:
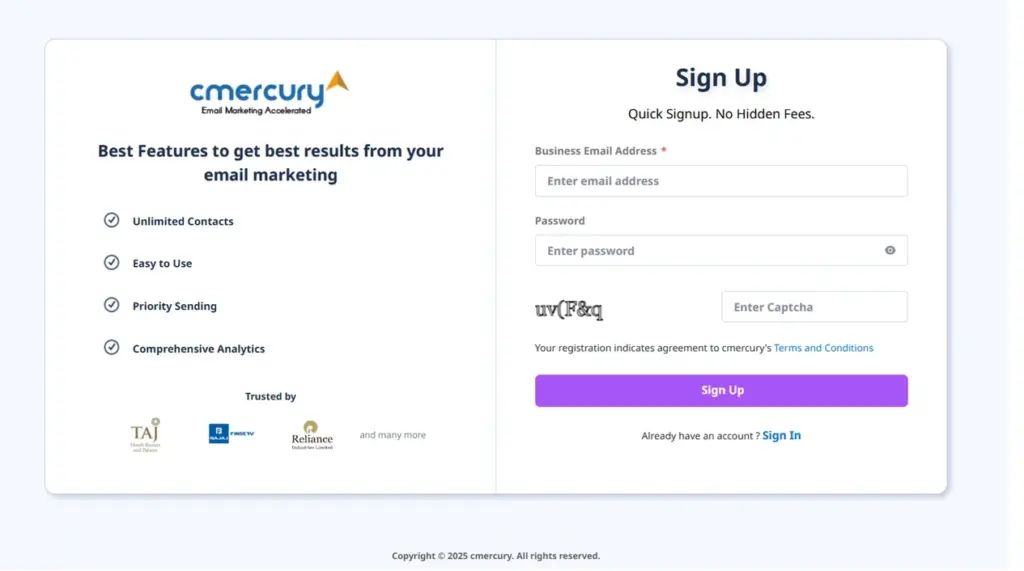
Step 1: Go to the Sign-Up Page
- Visit cmercury.com and click on the Sign Up button.
Step 2: Enter Your Account Details
During the sign-up process, provide the following details:
- Email Address (Only corporate email addresses are supported; Gmail addresses are not allowed.)
- Password (Ensure it meets security requirements.)
Step 3: Verify Your Email
After submitting your details, you will receive a confirmation email. Click the link in the email to verify your account.
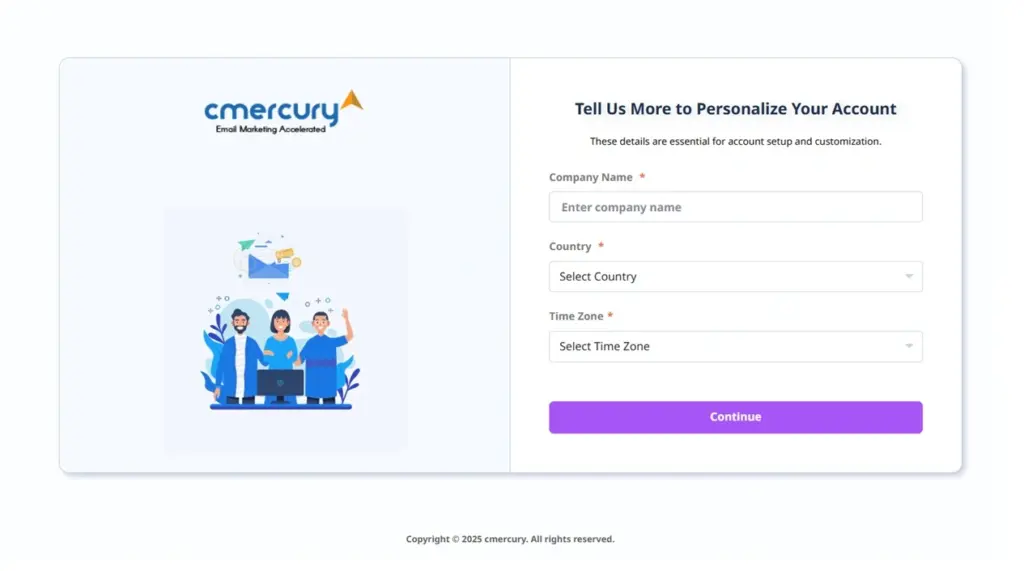
Step 4: Complete Your Account Setup
Once your email is verified, you will be asked to provide:
- Account Name (e.g., your company or business name)
- Your Name
- Time Zone (to ensure accurate campaign scheduling)
Step 5: Log In
After completing the setup, you will be redirected to the login page. Enter your email address and password to access your cmercury dashboard.
Setting Up Your Account
Before adding subscribers or sending emails, you must configure your sending domain.
Step 1: Access Domain Settings
- Go to Account Settings.
- Click on the Domains menu.
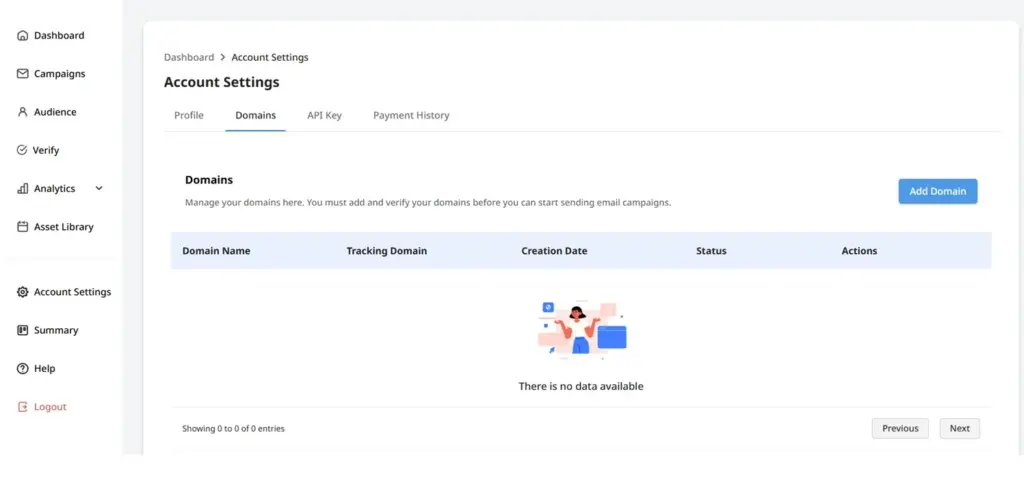
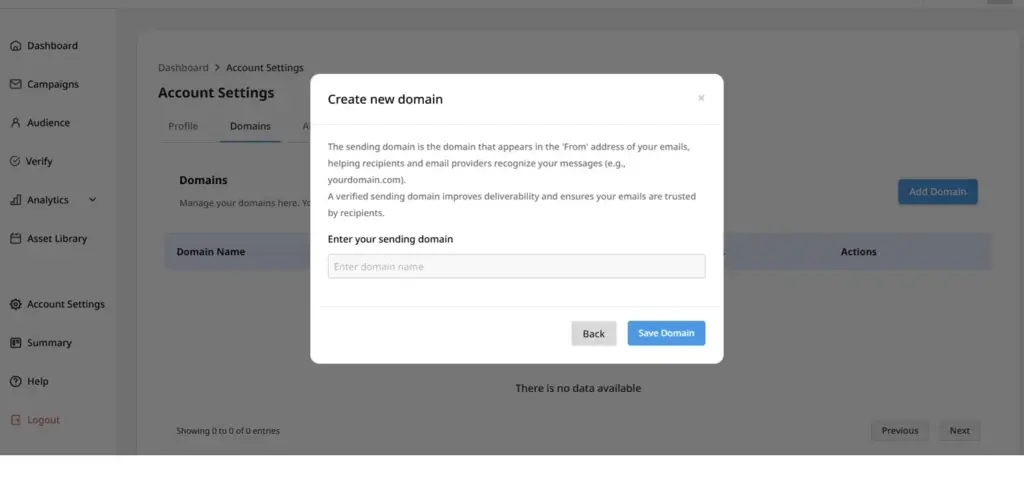
Step 2: Add Your Domain
- Click Add Domain and follow the on-screen instructions.
- Update your domain’s DNS settings as per the provided records.
- For a detailed guide, refer to our Domain Configuration Guide.
Step 3: Verify Your Domain
- After adding the DNS records, it may take up to 30 minutes for them to reflect.
- The system automatically checks for updates every 2 minutes.
- If the records are not detected within 50 attempts, the verification process pauses. You can manually restart verification by clicking Verify Records.
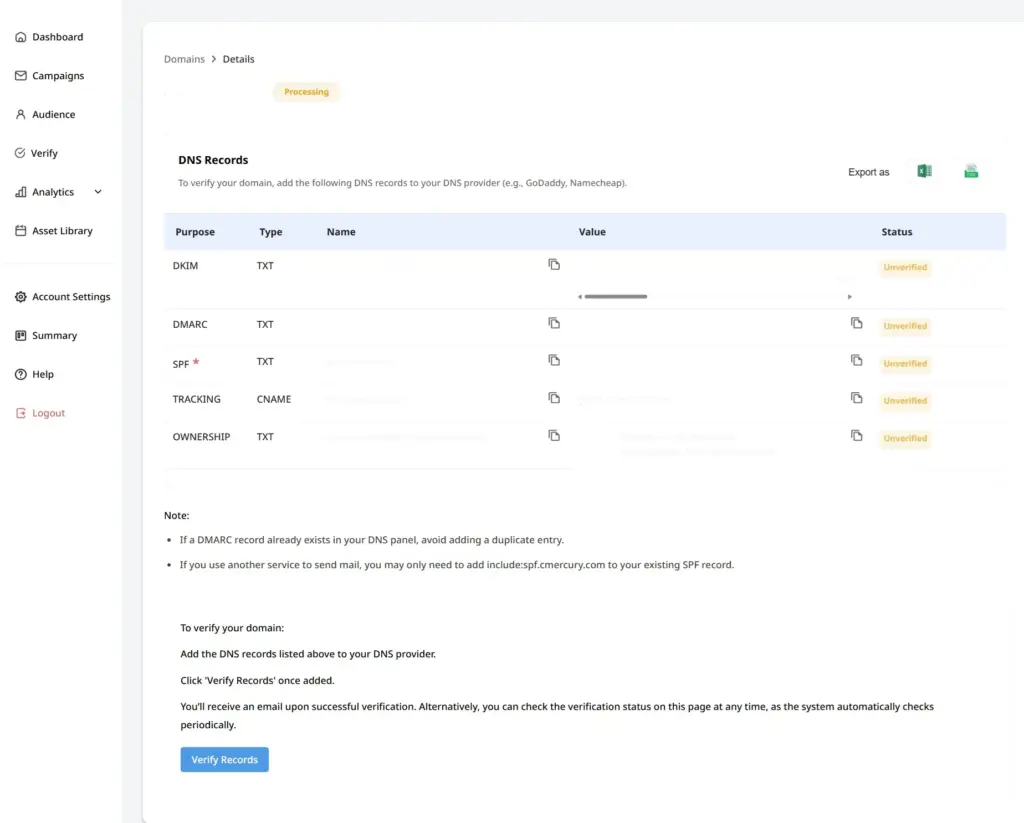
Step 4: Confirmation & Ongoing Monitoring
- Once verified, you will receive an email notification.
- cmercury automatically re-verifies your domain daily to ensure your DNS records remain intact.
- If any records are missing, you will receive an alert email.
Importing Subscribers
Now that your domain is configured, you can start adding subscribers to your cmercury account. You can import subscribers manually or via API integration.
Manually Importing Subscribers
- Navigate to the Subscribers tab in the main menu.
- Click Create a List.
- Click Import Subscribers and upload your list via CSV or manual entry.
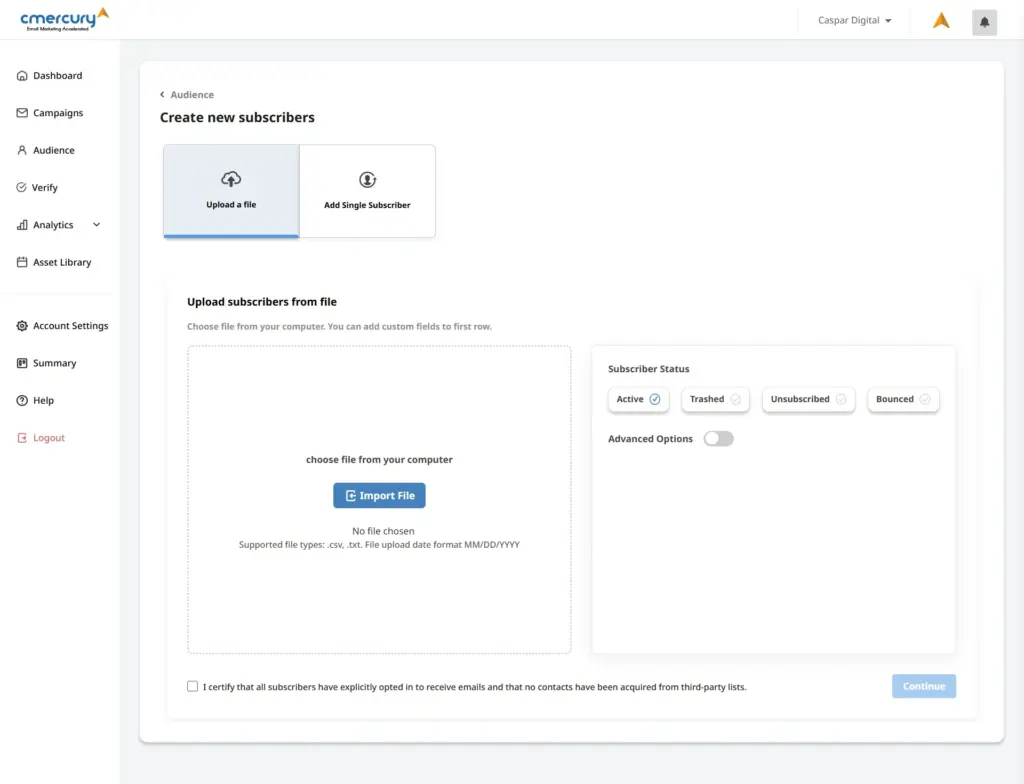
For a detailed step-by-step guide, refer to our How to Import Subscribers guide.
Free Trial Sending Limits and Best Practices
Free trial accounts in cmercury come with a daily sending cap of 200 emails, and a monthly limit of 6,000 emails. This allows new users to explore the platform while ensuring fair usage and system stability.
If you’re on a free trial and upload a test list (for example, 1,000 or 5,000 contacts), the system will automatically select 200 random recipients from your list for each scheduled campaign.
Even if the campaign is set to target the entire list, only the first 200 emails will be sent during that deployment.
How to Send to the Remaining Contacts
- After the first deployment, create a segment of non-recipients (users who haven’t yet received the email).
- Schedule your next campaign to this segment.
- The system will again send to 200 new contacts from the segment.
- For subsequent sends, simply refresh the non-recipient segment to continue targeting the remaining contacts until the entire list has received the campaign.
This limitation applies only to free trial accounts. Once upgraded to a paid plan, you can send to your full list without daily restrictions.
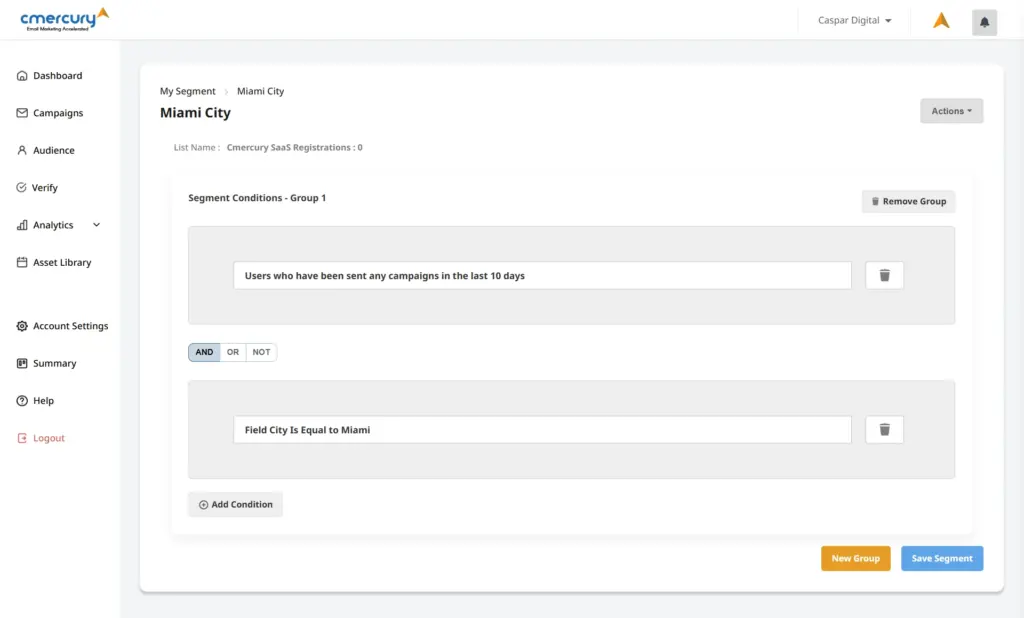
Segmentation for Personalization
Once subscribers are added, you can segment them based on attributes such as demographics, engagement, and behavior. This helps in sending personalized and effective campaigns.
Creating a Campaign
Now that you have subscribers, you can start creating and sending email campaigns.
Step 1: Access the Campaigns Section
Go to the Campaigns section from the main menu.
Step 2: Create a New Campaign
- Click Create New Campaign.
- Select the subscriber segment you want to target.
- Enter key details:
- Campaign Name
- Subject Line
- Preheader
- From Address & Sender Name
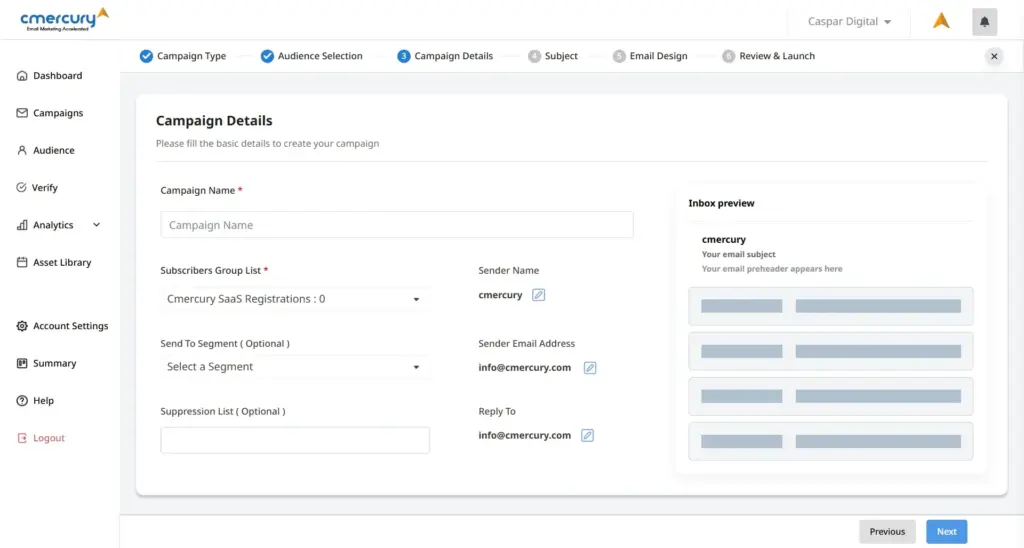
💡 Tip: Use the cmercury AI Writing Assistant to craft engaging subject lines and preheaders.
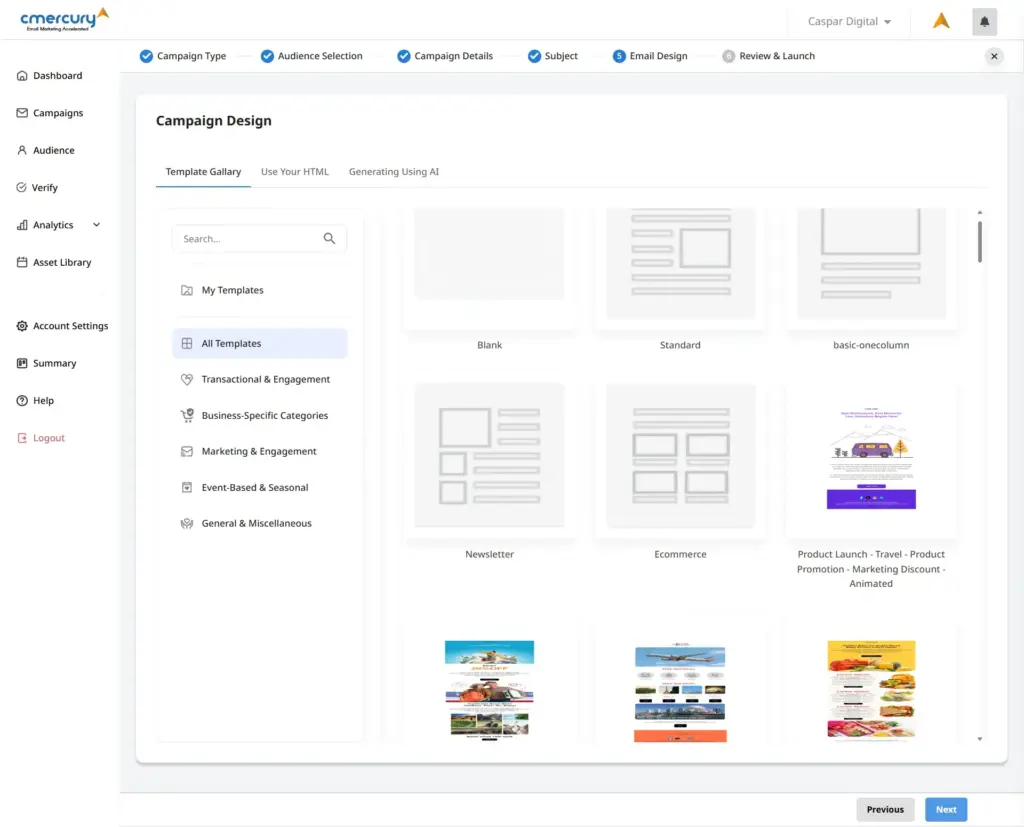
Step 3: Design Your Email
Choose one of the available options:
- HTML Editor – Customize the email directly within cmercury.
- Upload HTML – Use a pre-designed template.
- Text Editor – Send a plain-text email.
Step 4: Send or Schedule Your Campaign
Once your email is designed and reviewed, you can send it immediately or schedule it for later.
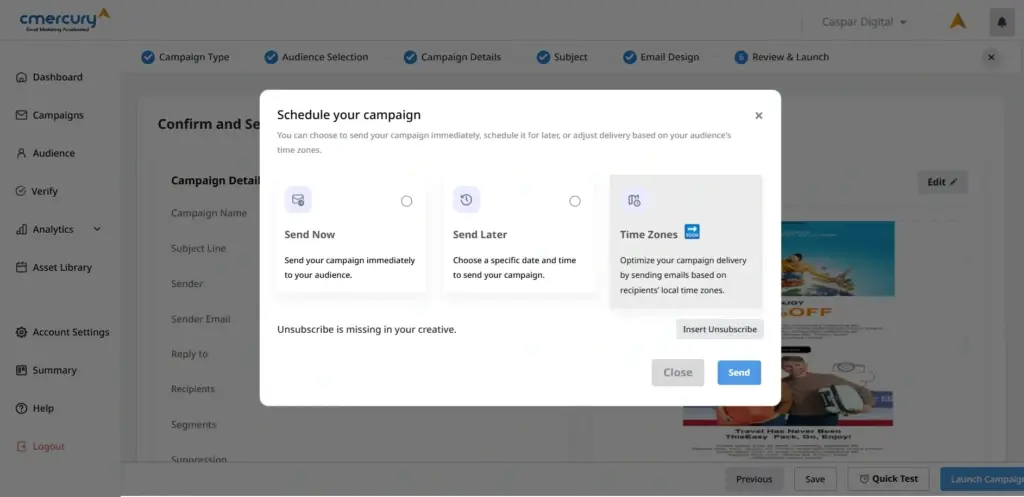
For detailed instructions, refer to our How to Create and Send a Campaign guide.
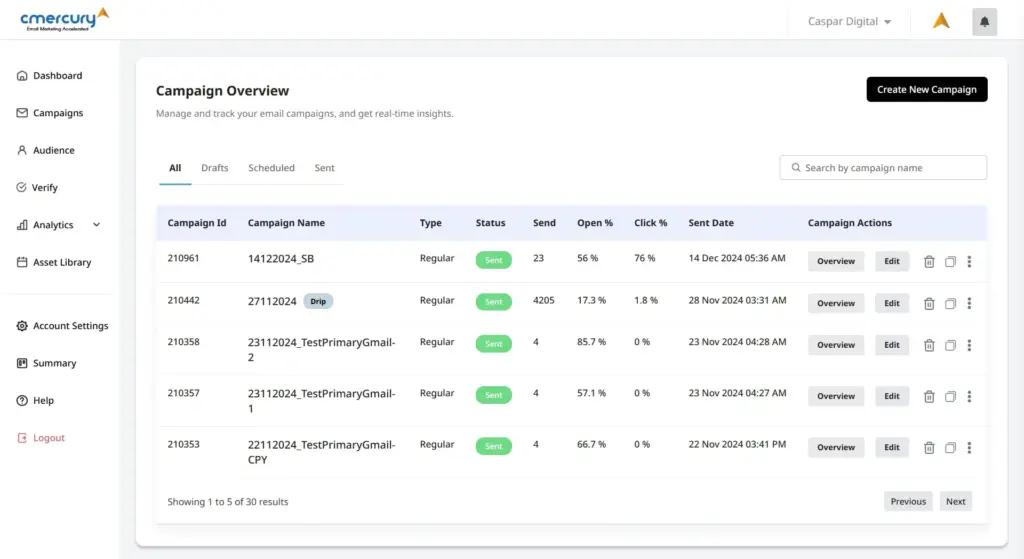
Tracking Campaign Performance
After sending your campaign, you can track its performance in the Analytics section.
Metrics include:
✅ Open Rates – See how many recipients opened your email.
✅ Click Rates – Track engagement with links in your email.
✅ Bounce Reports – Identify undelivered emails.
✅ Subscriber Engagement – Understand which contacts interact most with your emails.
For detailed insights, refer to our Campaign Analytics Guide.
Need Help?
Your success is our priority, and our team is here to support you every step of the way! If you have any questions: 📌 Explore our Help Center 📌 Reach out to our Support Team
Let’s create impactful email campaigns together! 🚀💡


